DIY Canvas Tutorial: Create Your Own Custom Canvas for Painting
Making your own canvas is a rewarding and cost-effective way to prepare surfaces for your artwork, allowing you to customize the size, quality, and texture. Here’s a step-by-step guide on creating a sturdy, high-quality canvas using easily accessible materials.
10/25/20242 min read
Materials Needed:
Wooden stretcher bars (available in different lengths or cut to size)
Canvas fabric (cotton or linen, preferably pre-primed)
Staple gun and staples
Scissors
Measuring tape or ruler
Sandpaper (for smoothing wooden edges)
Canvas pliers (optional but helpful for stretching the fabric tightly)
Step 1: Assemble the Wooden Frame
Select your stretcher bars: Choose stretcher bars based on the size you want for your canvas. You can find pre-cut stretcher bars at art or hardware stores, or cut wood pieces yourself.
Assemble the frame: Connect the stretcher bars at right angles to form a rectangular frame. They usually have grooves for easy joining. Tap gently with a hammer if needed to ensure tight joints.
Check alignment: Use a right-angle square or a ruler to ensure the frame is square. A sturdy frame is essential to avoid warping.
Step 2: Prepare the Canvas Fabric
Measure and cut: Lay the canvas fabric flat on a clean surface. Measure and cut it, leaving an additional 2-3 inches on each side to wrap around the frame.
Trim excess fabric: Make sure there’s enough fabric to pull over the edges of the frame without being too bulky.
Step 3: Attach the Canvas to the Frame
Position the frame: Place the wooden frame in the center of the canvas fabric.
Start stapling: Begin stapling the canvas to the frame. Start at the center of one side and work your way outward, leaving about an inch of space between each staple.
Stretch the fabric: Move to the opposite side of the frame, pulling the canvas tightly with your hands or canvas pliers, then staple the fabric in place. This keeps the fabric taut and prevents sagging over time.
Continue with the other sides: Repeat the process on the remaining two sides. Alternate between sides as you go to maintain even tension.
Secure the corners: At each corner, fold the fabric neatly, pulling tightly, and staple it securely. Make sure there’s no excess bulk at the corners.
Step 4: Prime the Canvas (Optional)
If you used raw, unprimed canvas fabric, you’ll need to apply gesso to create a smooth, paintable surface.
Apply gesso: Use a wide paintbrush to apply an even layer of gesso across the canvas surface. Allow it to dry for a few hours.
Sand and reapply: Lightly sand the surface after the first layer is dry for a smoother texture. Apply additional layers as desired, letting each layer dry and sanding in between.
Step 5: Finishing Touches
Check the tension: Press gently on the canvas surface. It should be firm and slightly springy.
Trim excess fabric: If needed, cut off any remaining fabric that sticks out from the staples on the back of the frame for a cleaner look.
Tips for Success:
Canvas pliers are a great investment for larger canvases, as they help stretch the fabric evenly.
Double-check your frame alignment before stapling to prevent a warped canvas.
Experiment with different textures and materials, like linen or synthetic fabrics, for unique surfaces.
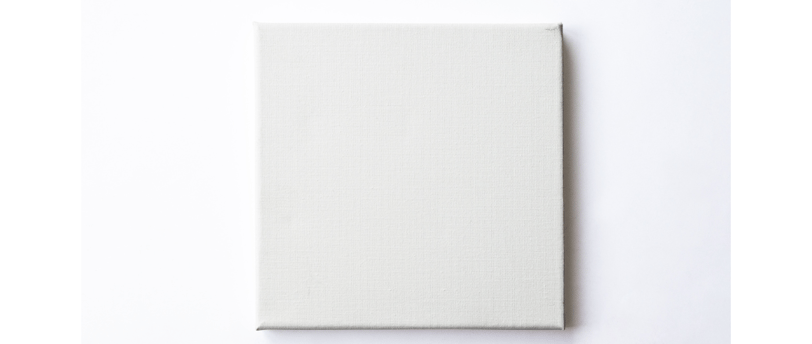
Creating your own canvas adds a personal touch to your artwork and lets you control the quality and size to fit your artistic needs.
Creativity
Explore art, learn, and embrace your passion.
CONTACT US:
Expression
artandanomaly@gmail.com
© 2024. All rights reserved.